


 Sign Out
 View Cart
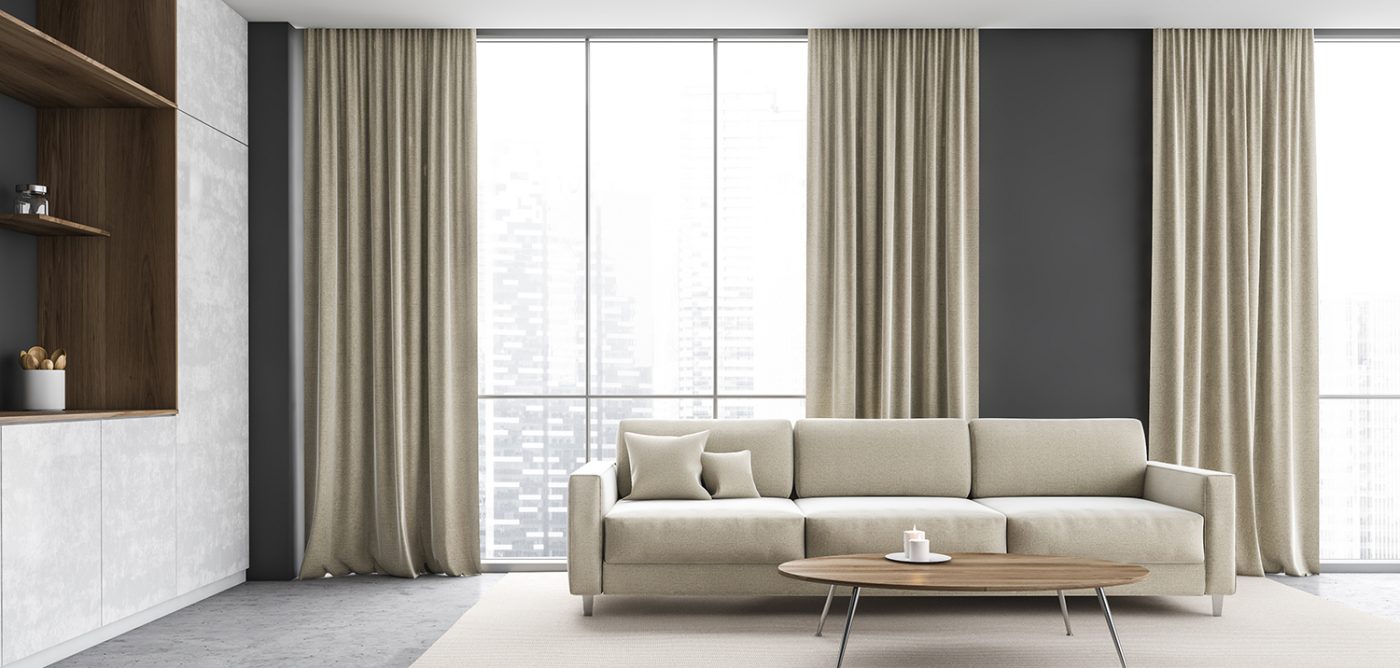
Share


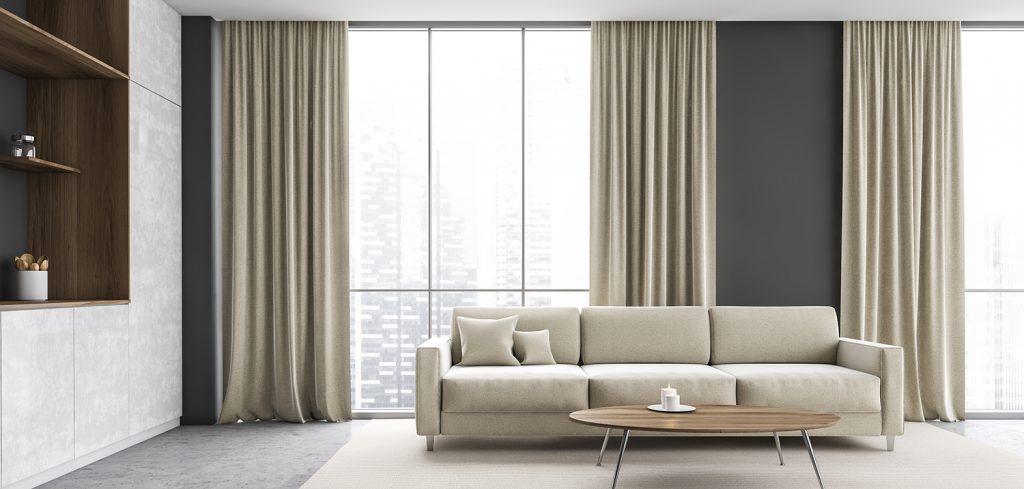
TIPS FOR INSTALLING DRAPERIES
- Measure accurately: Before starting the installation process, measure the width and length of the window or space where the drapery will be hung. This will help you determine the correct size of the drapery rod and panels needed. For tips on how to measure for draperies, visit our post.
- Choose the right hardware: Select a drapery rod that can support the weight of the drapes and fits the style of the room. Make sure the brackets are positioned correctly and securely anchored to the wall. Hardware options can be found here.
- Determine the correct placement: The ideal placement of drapery rods is 6 inches above the window frame and 6 to 8 inches on each side. This provides enough space for the panels to hang freely without obstructing the view or natural light.
- Steam or iron the drapes: Before hanging the drapes, iron or steam them to remove any wrinkles or creases. This will ensure they hang evenly and look neat.
- Hang the panels correctly: To achieve a polished look, make sure the panels are hung evenly and have the same length. Pinch pleat drapes should be hung from the rings and hooks, while grommet drapes should be threaded onto the rod.
- Check the length: The bottom hem of the drapery should just skim the floor or hang 1/2 inch above it. If the panels are too long, they will bunch up on the floor (which you may want to create a pooling effect) or if they are too short, they will look awkward.
- Add tiebacks: If desired, add tiebacks to hold the drapes back when they are open. Tiebacks can be a simple cord or a decorative tassel.
- Finishing touches: Once the drapes are hung, adjust the folds and pleats to create an even, tailored look. You may need to adjust the drapery hooks or rings to achieve the desired effect.